OpenTherm Thermostat
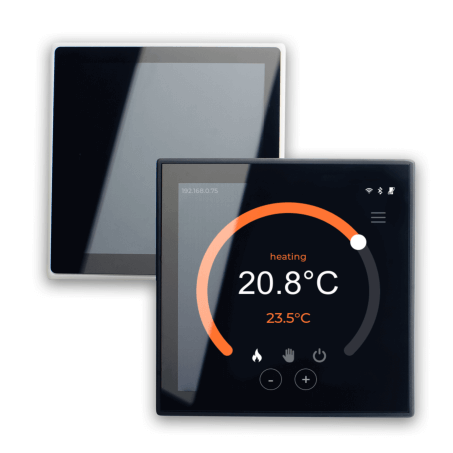
Smart WiFi OpenTherm Thermostat
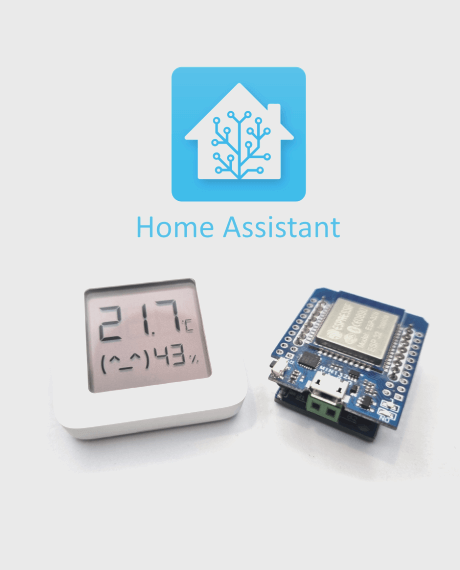
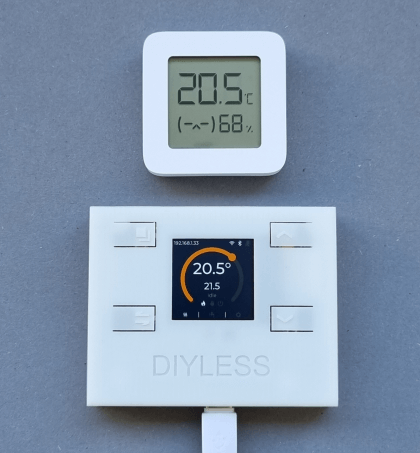
Smart WiFi OpenTherm Thermostat with remote control for a cheap price and without any monthly costs. It supports all OpenTherm compatible boilers, has Home Assistant integration. Assembled and firmware flashed.

Boilers Compatibility
OpenTherm Thermostat is compatible with all boiler those have OpenTherm protocol support.
Easy Assembly
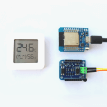
Just connect the thermostat to a boiler using 2 wires and power via any micro USB power adapter.
Simple configuration
Use WiFi Manager to setup WiFi connection. Select the Bluetooth temperature sensor or solder wires for DS18B20 temperature sensor.
OpenTherm Protocol Compatibility
The thermostat is compatible with all OpenTherm Protocol versions from the earliest to the latest.
Web interface
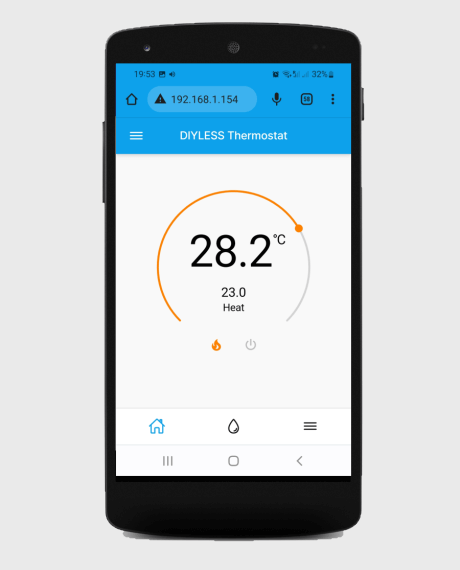
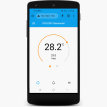
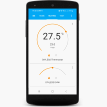
OpenTherm thermostat has it's own web interface, which simplifies configuration and provides remote control from your smartphone or computer
Home Assistant integration
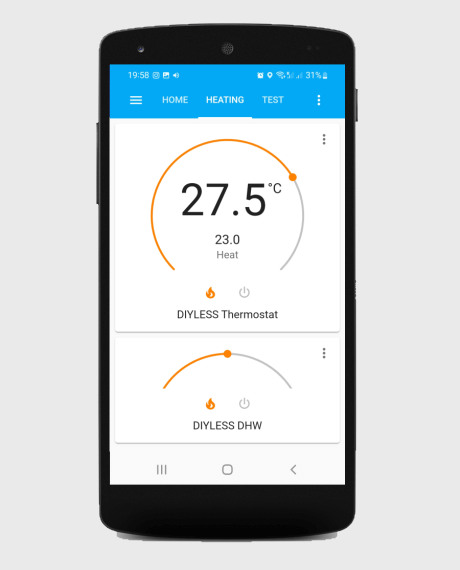
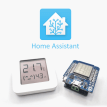
The Smart Thermostat has Home Assistant integration which gives you remote control via Home Assistant application. Home automation, heating schedule using scenarios. Usage graphs.
OpenTherm Thermostat Connection
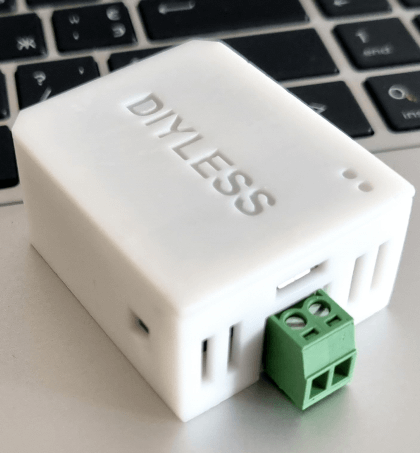
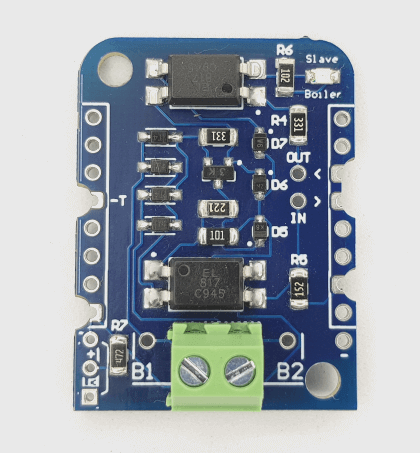
The thermostat connection is made as simple as possible. Just use 2 wires for the boiler connection and a micro USB charger as a power source.
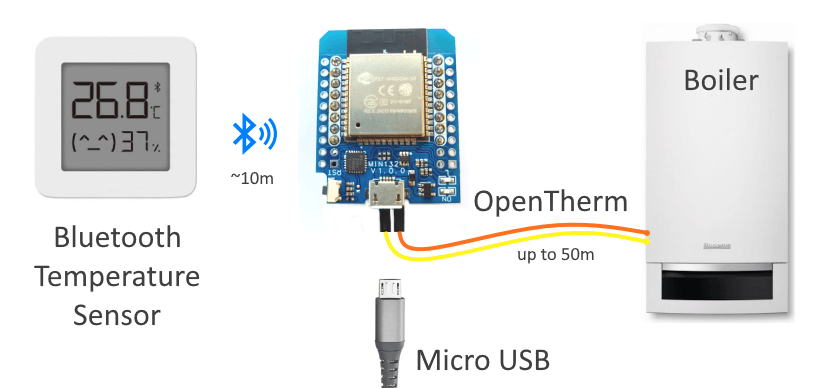
- Optional. If you want to use built-in DS18B20 temperature sensor and wired connection you can solder it using wires up to 20m long.
- Use two wires (up to 50m long) to connect the thermostat to an OpenTherm compatible boiler
- Connect any micro USB charger as a power source for OT Thermostat.
Smart Thermostat Interface
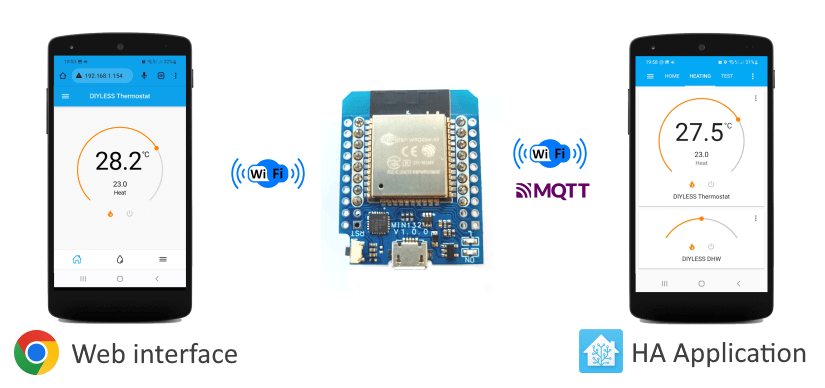
- Thermostat Web interface. Access using web browser by the thermostat IP address: http://xxx.xxx.xxx.xxx
- Home Assistant application. Web access for desktop or native mobile application for iOS or Android.
- Custom interface implementation using MQTT protocol
For configuration manual please refer to the Initial thermostat configuration page
| Component | Pieces |
|---|---|
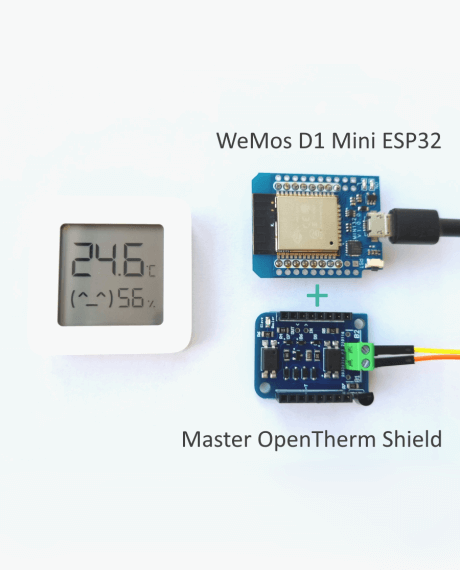
| ESP8266/ESP32 Thermostat Shield | 1 |
| WeMos D1 Mini ESP32 | 1 |
| Xiaomi Mijia Bluetooth Thermometer 2 LYWSD03MMC | 1 |
| Temperature sensor DS18B20 | 1 |
| Shipping method | Estimated Time | Fees |
|---|---|---|
|
|
12-15 days | €5.5 |
For configuration manual please refer to the Initial thermostat configuration page.
Also you can use ready-made firmwares like ESPHome, Tasmota etc.
If the stock firmware fits almost all your needs and only a few feature(s) are missing - we can consider adding them to the next version, please report a request or an issue report into our thermostat repo. Subsequent updates are free, and if you experiment on your thermostat with a custom firmware and later decide to rollback to the original one - we have a simple browser-based tool which allows you reverting back to the stock easily.
Web-Flasher (leave activation code request input empty when flashing your device)
To use web-flasher - connect your thermostat with a usb-cable to your PC, selct your thermostat model and press connect button. After selection appropriate port - you will be able to install the firmware.
That means the boiler will spend more in active state however at a lower power level instead of cycling between max power and off.
In practice (from a real installation) - room temperature accuracy is held within a ±0.15°C range.
- Change security from WPA3 (also might display as WPA3+WPA2 or WPA3/WPA2) to WPA2 (WPA+WPA2 or WPA/WPA2) (1 case reported so far)
- Change the 2.4 GHz wireless mode from 802.11b/g/n/ax to 802.11b/g/n or 802.11b/g (1 case reported so far)
- You might try also fixing your Wi-Fi channel number
Related Products
OpenTherm Thermostat 3
€50.00
Master OpenTherm Shield
€14.00
© 2020 - DIYLESS Electronics - Shipping - Refund Policy - Privacy - Cookies Settings
