Blynk OpenTherm Thermostat
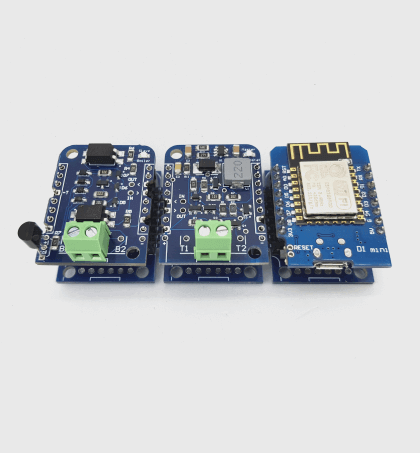
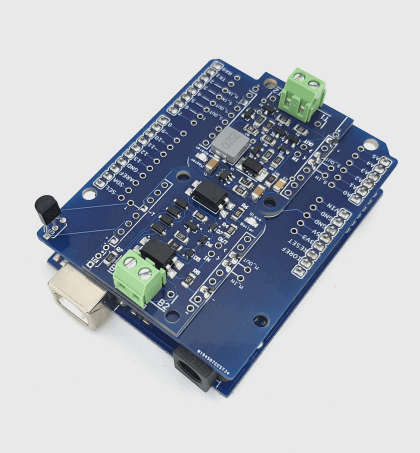
This article describes how to build simple OpenTherm cloud based Wi-Fi thermostat using Blynk platform and ESP8266 Thermostat Shield. So you can replace traditional room thermostat and control your boiler remotely using mobile application.
What is Blynk?
Blynk is a hardware-agnostic, popular Internet of Things platform for connecting any hardware to the cloud, designing apps to control them. With Blynk Library you can connect most popular hardware modules (including ESP8266, ESP32, NodeMCU, all Arduinos, Raspberry Pi, Particle, Texas Instruments, etc.) to the Blynk Cloud. Blynk is a digital dashboard where you can build a graphic interface for any Arduino project by simply dragging and dropping widgets.
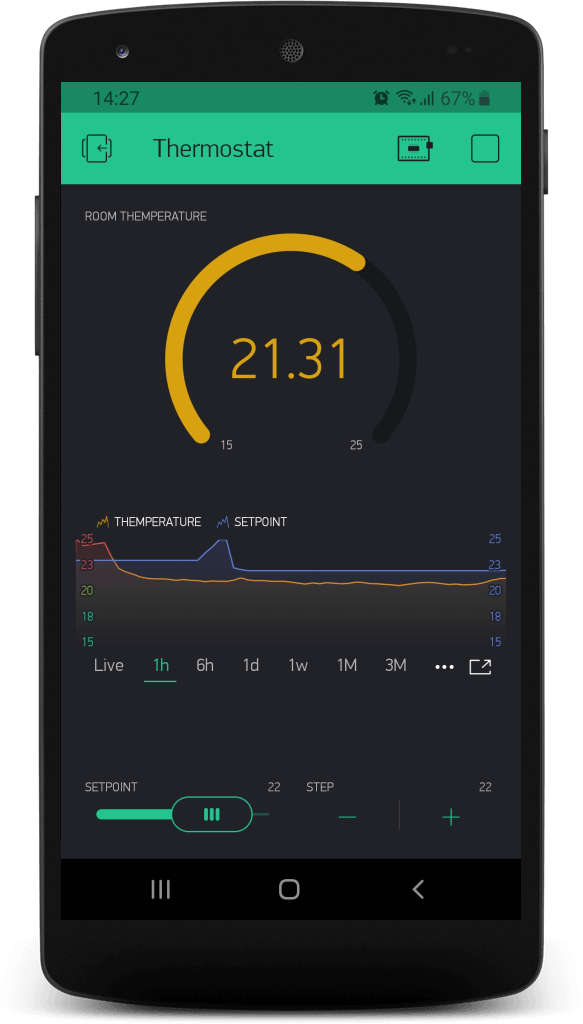
Blynk OpenTherm Thermostat application setup
- Download Blynk app for iOS or Android
- Create a Blynk Account
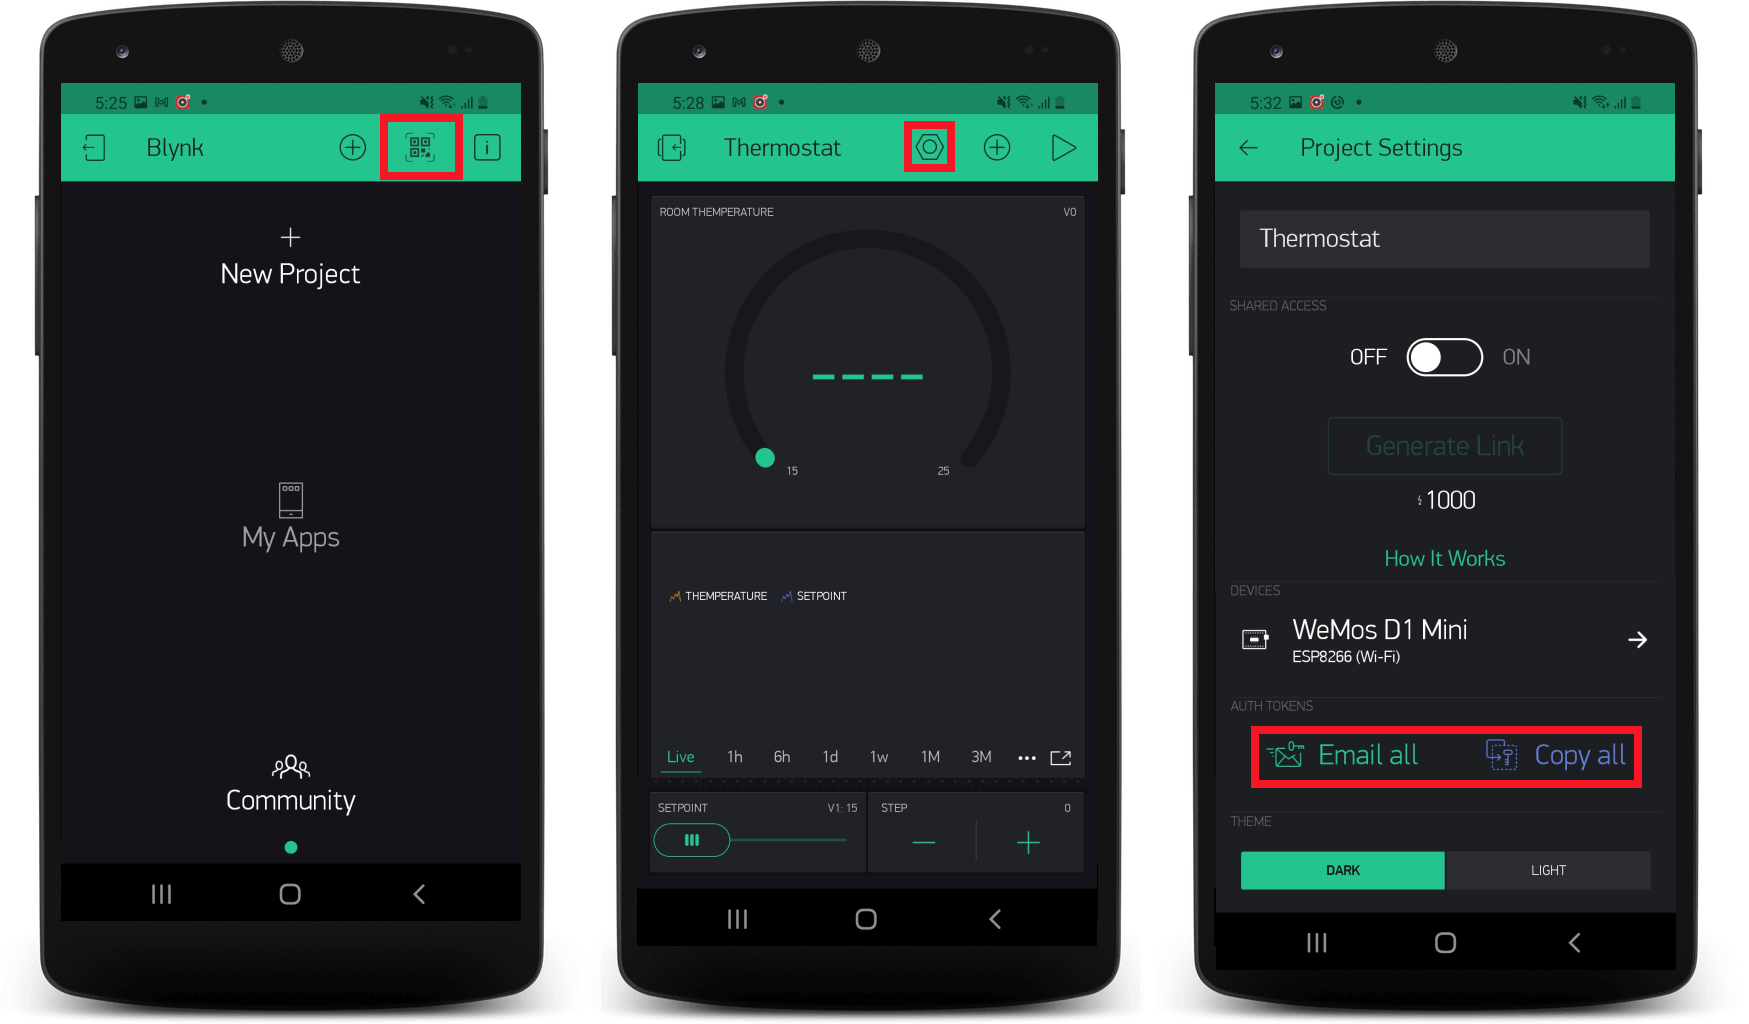
- Touch the QR-code icon and point the camera to the code below
- Touch project settings icon to get device auth token. In Auth Tokens section click "Email all" or "Copy all"

Blynk application installation is finished, then you need to switch to Arduino IDE.
Arduino IDE libraries installation
- Install Blynk library
- Install Ihor Melnyk's OpenTherm library
- Install DallasTemperature and OneWire library
In case you forgot, or don't know how to install Arduino libraries click here.
Blynk OpenTherm Thermostat Sketch
- Create new sketch in Arduino IDE and copy code below.
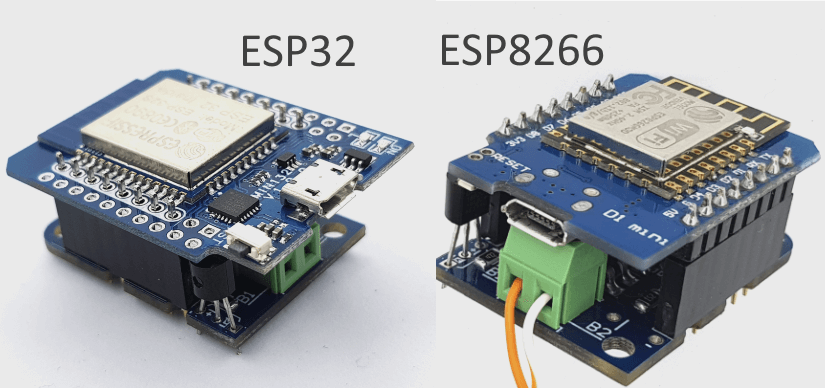
- Paste your auth token, specify WI-FI SSID, WI-FI password and update pins configuration if you want to use ESP32 module.
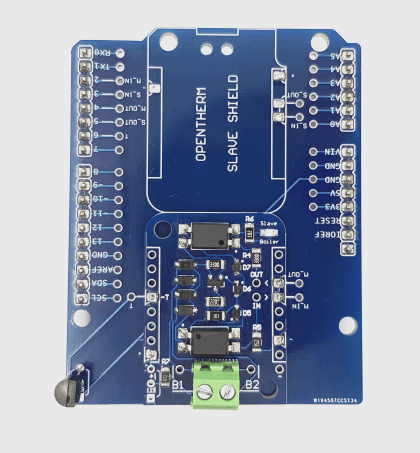
- Connect WeMos D1 Mini or WeMos D1 Mini ESP32 module and upload updated sketch.
#define BLYNK_PRINT Serial

#include <ESP8266WiFi.h>
#include <BlynkSimpleEsp8266.h>
#include <OneWire.h>
#include <DallasTemperature.h>
#include <OpenTherm.h>

// You should get Auth Token in the Blynk App.
// Go to the Project Settings (nut icon).
char auth[] = "XXX-AUTH-TOKEN-XXX";

// Use Virtual pin 0 for current room temperature display
#define ROOM_TEMP_PIN V0
// Use Virtual pin 1 for setpoint manage & display
#define SETPOINT_PIN V1

// Your WiFi credentials.
// Set password to "" for open networks.
char ssid[] = "WIFI-SSID";
char pass[] = "WIFI-PASSWORD";

//Master OpenTherm Shield pins configuration
const int OT_IN_PIN = 4;  //4 for ESP8266 (D2), 21 for ESP32
const int OT_OUT_PIN = 5; //5 for ESP8266 (D1), 22 for ESP32

//Temperature sensor pin
const int ROOM_TEMP_SENSOR_PIN = 14; //14 for ESP8266 (D5), 18 for ESP32

float sp = 20, //set point
t = 0, //current temperature
t_last = 0, //prior temperature
ierr = 0, //integral error
dt = 0, //time between measurements
op = 0; //PID controller output
unsigned long ts = 0, new_ts = 0; //timestamp

OneWire oneWire(ROOM_TEMP_SENSOR_PIN);
DallasTemperature sensors(&oneWire);
OpenTherm ot(OT_IN_PIN, OT_OUT_PIN);
BlynkTimer timer;

void ICACHE_RAM_ATTR handleInterrupt() {
    ot.handleInterrupt();
}

float getTemp() {
  return sensors.getTempCByIndex(0);
}

float pid(float sp, float pv, float pv_last, float& ierr, float dt) {
  float KP = 10;
  float KI = 0.02;
  // upper and lower bounds on heater level
  float ophi = 80;
  float oplo = 10;
  // calculate the error
  float error = sp - pv;
  // calculate the integral error
  ierr = ierr + KI * error * dt;
  // calculate the measurement derivative
  float dpv = (pv - pv_last) / dt;
  // calculate the PID output
  float P = KP * error; //proportional contribution
  float I = ierr; //integral contribution
  float op = P + I;
  // implement anti-reset windup
  if ((op < oplo) || (op > ophi)) {
    I = I - KI * error * dt;
    // clip output
    op = max(oplo, min(ophi, op));
  }
  ierr = I;
  Serial.println("sp="+String(sp) + " pv=" + String(pv) + " dt=" + String(dt) + " op=" + String(op) + " P=" + String(P) + " I=" + String(I));
  return op;
}


// This function calculates temperature and sends data to Blynk app every second.
// In the app, Widget's reading frequency should be set to PUSH. This means
// that you define how often to send data to Blynk App.
void updateData()
{
  //Set/Get Boiler Status
  bool enableCentralHeating = true;
  bool enableHotWater = true;
  bool enableCooling = false;
  unsigned long response = ot.setBoilerStatus(enableCentralHeating, enableHotWater, enableCooling);
  OpenThermResponseStatus responseStatus = ot.getLastResponseStatus();
  if (responseStatus != OpenThermResponseStatus::SUCCESS) {
    Serial.println("Error: Invalid boiler response " + String(response, HEX));
  }

  t = sensors.getTempCByIndex(0);
  new_ts = millis();
  dt = (new_ts - ts) / 1000.0;
  ts = new_ts;
  if (responseStatus == OpenThermResponseStatus::SUCCESS) {
    op = pid(sp, t, t_last, ierr, dt);
    //Set Boiler Temperature
    ot.setBoilerTemperature(op);
  }
  t_last = t;
  sensors.requestTemperatures(); //async temperature request

  Blynk.virtualWrite(ROOM_TEMP_PIN, t);
  Blynk.virtualWrite(SETPOINT_PIN, sp);
  Serial.println("Current temperature is " + String(t) + " degrees C");
}


// This function will be called every time Slider Widget
// in Blynk app writes values to the Virtual Pin 1
BLYNK_WRITE(SETPOINT_PIN)
{
  sp = param.asFloat(); // assigning incoming value from pin V1 to a variable
  Serial.print("V1 Slider value is: ");
  Serial.println(sp);
}

// This function tells Arduino what to do if there is a Widget
// which is requesting data for Virtual Pin (1)
BLYNK_READ(SETPOINT_PIN)
{
  // This command writes setpoint to Virtual Pin (1)
  Blynk.virtualWrite(SETPOINT_PIN, sp);
}

void setup()
{
  //Debug console
  Serial.begin(9600);

  Blynk.begin(auth, ssid, pass);
  ot.begin(handleInterrupt);

  //Write initial setpoint
  Blynk.virtualWrite(SETPOINT_PIN, sp);

  //Init DS18B20 sensor
  sensors.begin();
  sensors.requestTemperatures();
  sensors.setWaitForConversion(false); //switch to async mode
  t, t_last = sensors.getTempCByIndex(0);
  ts = millis();
  // Setup a function to be called every second
  timer.setInterval(1000L, updateData);
}

void loop()
{
  Blynk.run();
  timer.run();
}
Put all things together

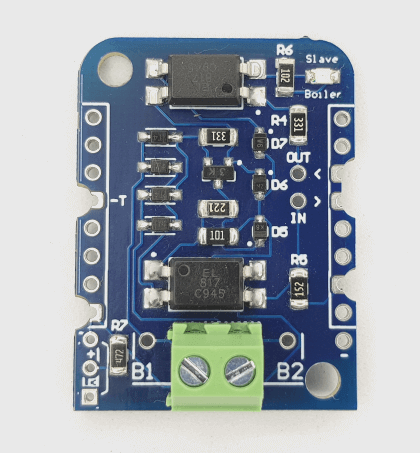
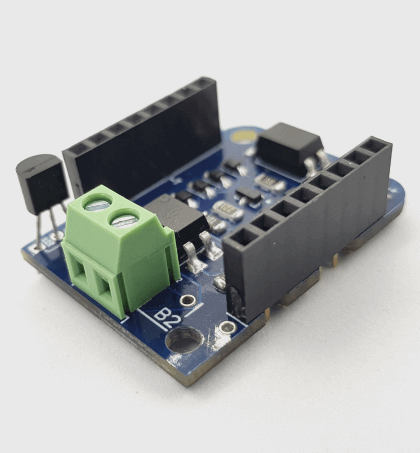
- Use 2-pins screw therminal to connect ESP8266 Thermostat Shield to the boiler.
- Connect micro-USB cable
- Go back to Blynk app and RUN OpenTherm Thermostat project (press the PLAY button).
Blynk application in action