ESP32 Wi-Fi OpenTherm Thermostat
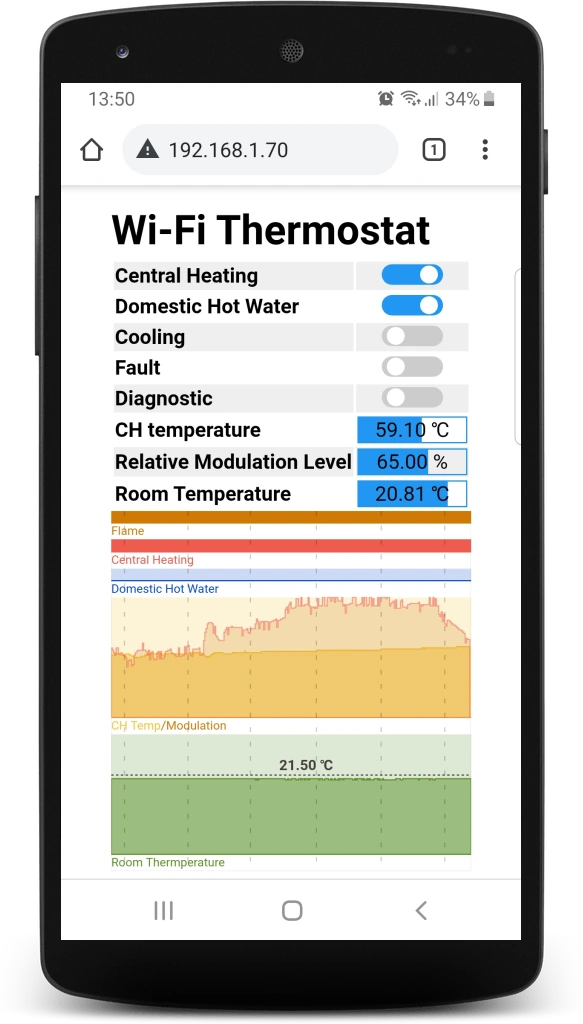
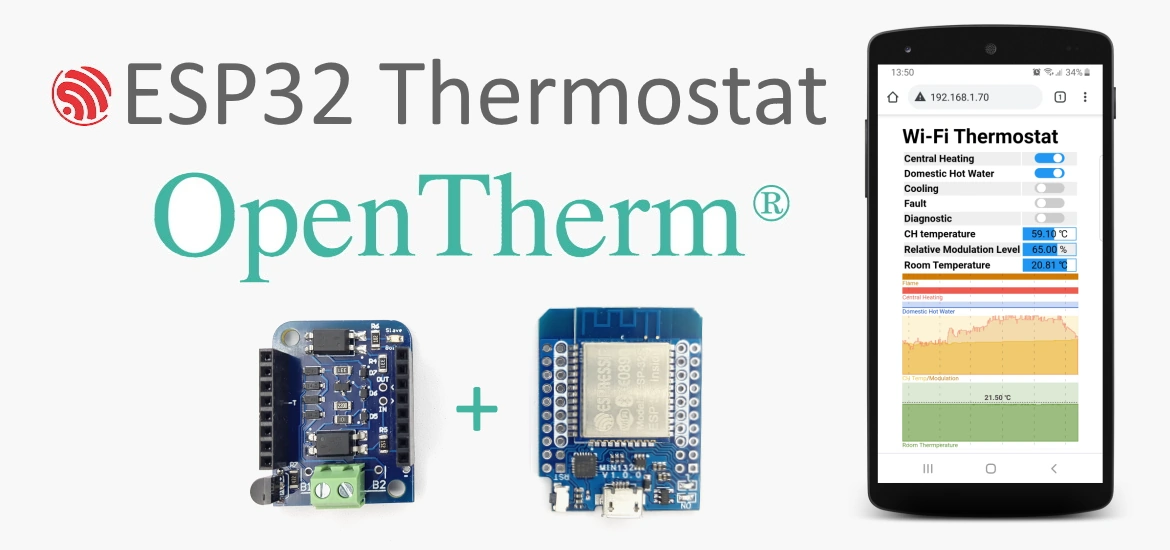
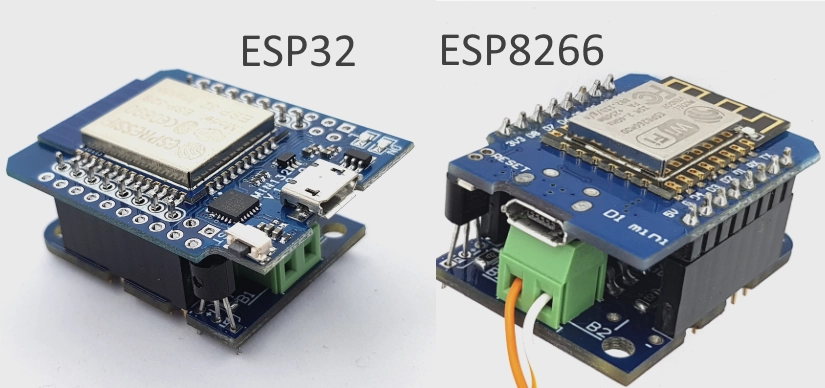
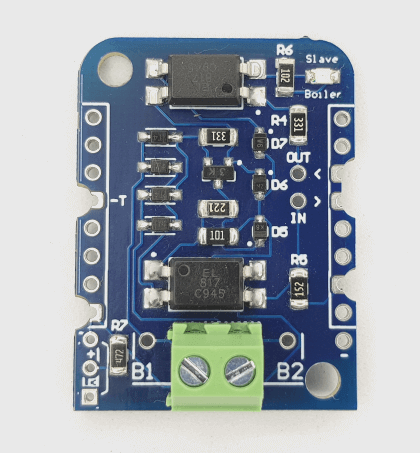
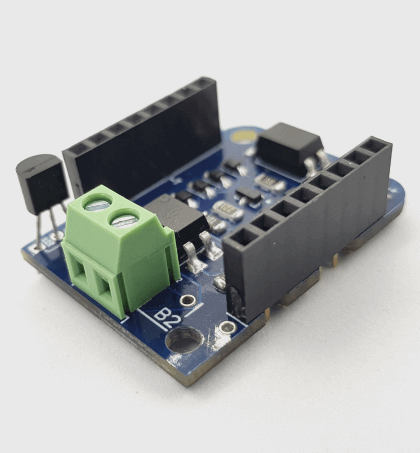
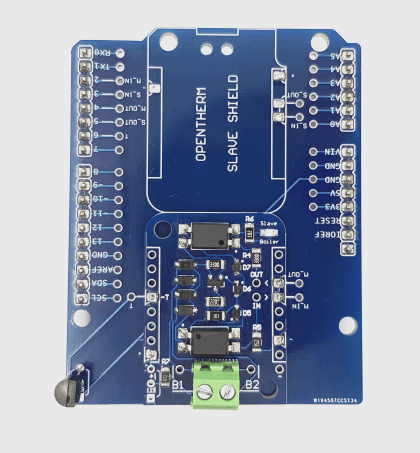
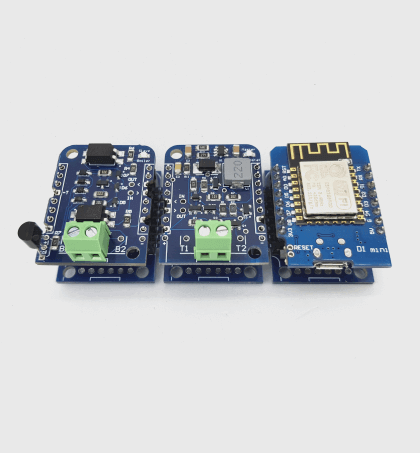
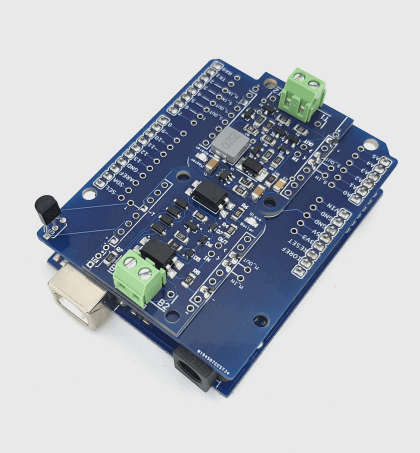
This article describes how to build simple OpenTherm Wi-Fi thermostat using ESP32 WebServer and ESP8266/ESP32 Thermostat Shield. So you can replace traditional room thermostat and control and monitor your boiler remotely via Wi-Fi using web browser on smartphone or personal computer.
Features
- Enable/disable central heating
- Enable/disable domestic hot water
- Enable/disable cooling
- Monitor boiler fault and diagnostic state
- Monitor central heating temperature and relative boiler modulation level
- Set and monitor room temperature
Arduino IDE libraries installation
- Install ESP32 platform into Arduino IDE using Board Manager
- Install Ihor Melnyk's OpenTherm library
- Install DallasTemperature and OneWire library
In case you forgot, or don't know how to install Arduino libraries click here.
ESP32 OpenTherm Wi-Fi Thermostat Sketch
- Download sketch from DIYLESS github repository esp32-wifi-thermostat.
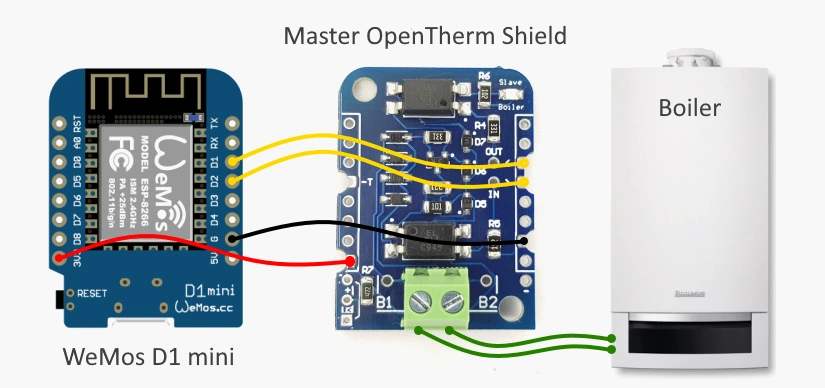
- Paste your auth token, specify WI-FI SSID, WI-FI password and update pins configuration according to which module you want to use ESP8266 or ESP32.
- Connect WeMos D1 Mini or WeMos D1 Mini ESP32 module and upload updated sketch.
Put all things together
- Use 2-pins screw terminal to connect ESP32/ESP8266 Thermostat Shield to the boiler.
- Connect micro-USB cable
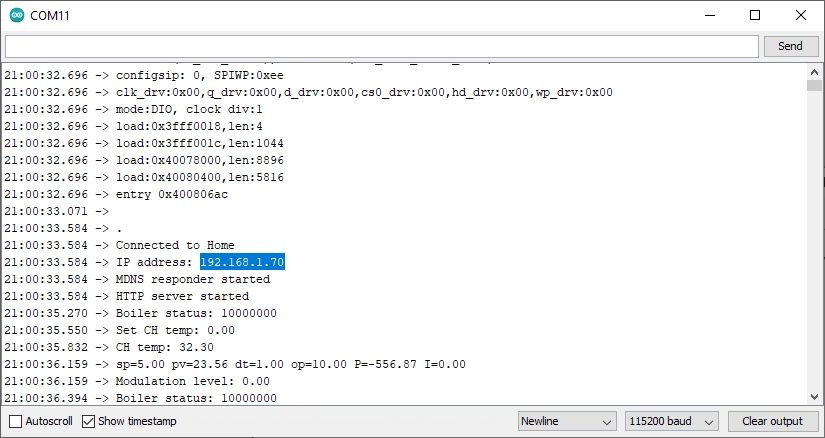
- Try to use DNS name http://thermostat/ or get IP address from serial output.
Wi-Fi Thermostat Web Server in action
